About a month ago a friend whipped up her "go to" dessert on a weeknight - pears poached in red wine syrup. Now, Jess seemed to think this was a lazy woman's dessert, nothing special, just a last minute thing, but I beg to differ. I think poached pears are the height of elegance in a dessert. Simple, elegant flavours and so beautiful to look at... and to eat! Served with cream or plain yoghurt, they are a delight. And yes, they are a simple dessert, but classic is classic for a reason.
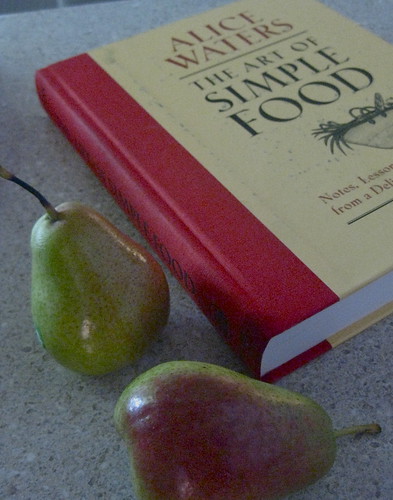
And so, a few weeks later, my mother asked me to contribute a dessert to dinner and my first thought was poached pears. When I arrived at her place to pop them on the stove, Mum gently nudged me in the direction of Alice Water's "The Art of Simple Food". Alice provides a simple, neverfail poached pear recipe and then encourages you to go out and tweek it according to your taste, the type of pear you are able to buy at the time and what you might happen to have handy in the cupboard. I have since cooked this fabulous recipe many, many times and every poached pear has been served to acclaim at the table.
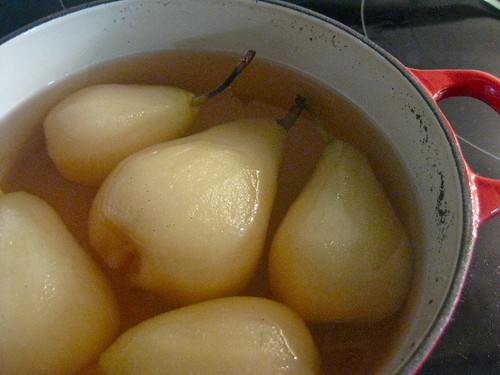
Feel free to experiment. I used vanilla bean paste in mine (you can tell from all those wonderful brown specks in the pictures) but you could equally add some lemon zest or, with the red wine syrup, a cinnamon stick and some cloves. Mix it up and bask in the glow of your guests' enjoyment. And be sure not to tell them just how easy it was!
Poached Pears
Ingredients
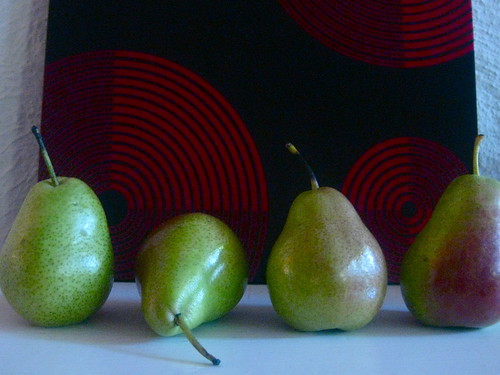
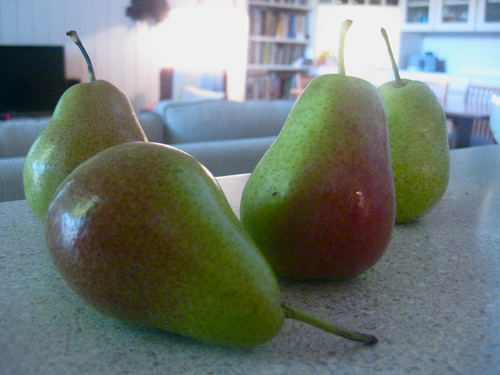
- 4 coriole pears (or any other variety you like)
- 2 cups leftover champagne (or any type of wine, red or white, you happen to have handy)
- 2 cups water
- 1 1/4 cups white sugar
- 1 teaspoon vanilla bean paste (or 1 teaspoon lemon zest)
On a low heat in a saucepan big enough to hold all your pears, dissolve the sugar in the champagne and water. Add the vanilla bean paste when it warms up and you can no longer see the sugar granules in the liquid. Bring to the boil.

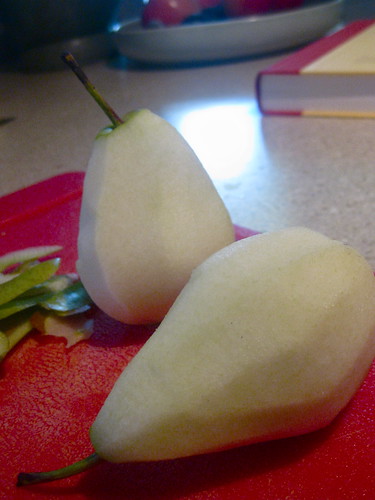
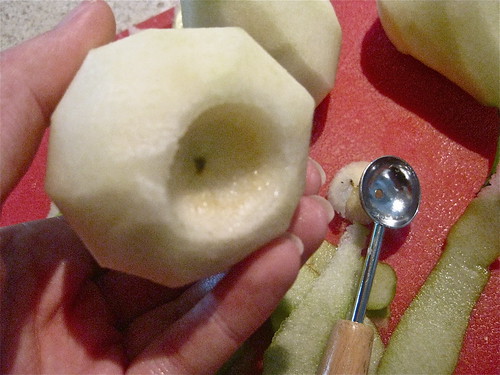
Working quickly, while the syrup is getting up to a boil, peel your pears and then scoop the stem at the bottom of the pears out. I used a melon scooper (circa 1980 - thanks Mum!) but a teaspoon should also do the trick, or even a small paring knife. Leave the stems in, they are a handy tool for moving the pears, plus they look so pretty.
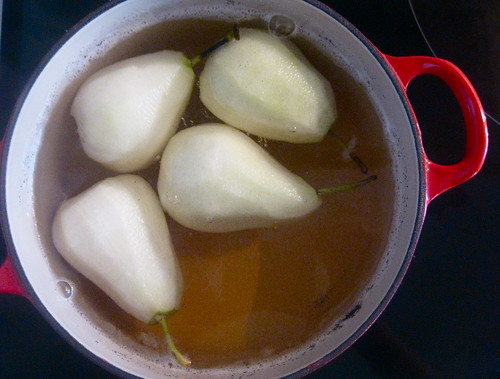
Cover the saucepan and cook for 15-40 minutes depending on the size and the variety of the pear. Some pears are softer than others, some are larger or smaller. It's best to keep an eye on them and use a knife to determine when they're soft and buttery. You don't want to stew them - they need to be firm enough to stand up on the plate - so keep checking every five to ten minutes.
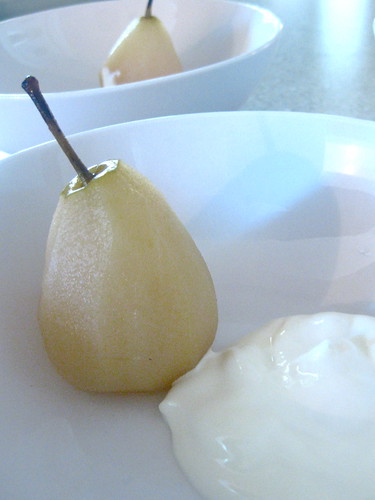
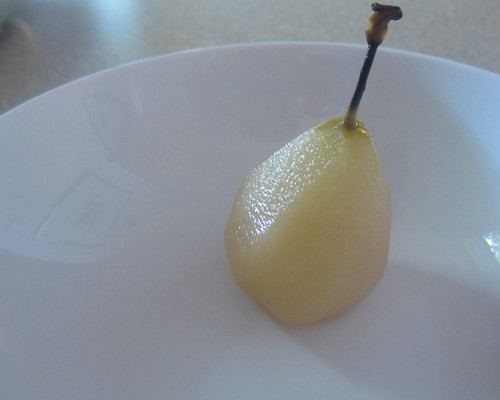
To serve, lift the pear out of the syrup and place in a bowl so it is standing upright. Add a dollop of plain yoghurt (or cream if you prefer) and drizzle with a little of the syrup.
See! Easy and delicious. And don't they look elegant.

No comments:
Post a Comment